When your audio cuts out or your video feed fails during a professional call, the stress is immediate. Mastering the art of troubleshooting Microphone and Camera Problems During Online Meetings allows you to resolve these technical barriers quickly so you can return to the conversation. Whether you are using Zoom, Microsoft Teams, or Google Meet, most issues stem from simple configuration errors or permission conflicts that anyone can fix with a systematic approach.
By understanding your system sound settings and how your computer interacts with external peripherals, you can regain control of your digital presence. This resource provides the technical steps needed to restore your connectivity and ensure your next virtual meeting runs without interruption.
Initial Hardware and Connection Checks
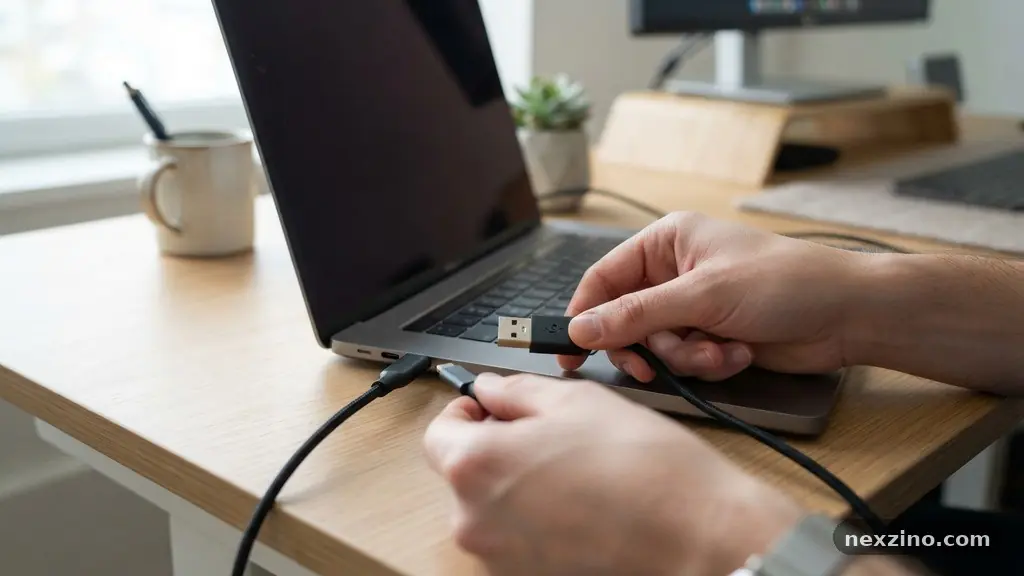
The most common culprit for failing peripherals is a loose or faulty physical connection. Before diving into complex software settings, always verify that your USB cables are pushed firmly into the correct ports. If you are using a docking station or a USB hub, try plugging the device directly into the computer’s primary port to rule out a bandwidth or power limitation.
Check your hardware for a physical mute switch or a privacy shutter. Many modern webcams feature a sliding cover that blocks the lens, which software settings cannot override. Similarly, high-quality headsets often include a physical toggle on the wire or the ear cup that mutes the microphone independently of your meeting software.
Inspect the cable for visible signs of damage, such as fraying or bent pins. If you have another USB port available, switch the device to that slot to see if the system detects it. Sometimes, a specific port on your motherboard may fail while others remain fully functional.
Managing System Sound Settings
Your operating system acts as the gatekeeper for all audio input and output devices. If your microphone isn’t working, the first step is to open your system sound settings and confirm that the correct input device is selected. You should see a visual indicator, such as a volume bar that fluctuates when you speak, confirming the system receives a signal.
Check the input level or gain settings within your control panel. If the input volume is set to zero or muted at the system level, no amount of adjusting your video conferencing software will help. You can find detailed support for these configurations on the official Windows support page regarding audio troubleshooting.
Ensure that the sample rate of your microphone matches the requirements of your communication platform. While most modern applications handle this automatically, older hardware may struggle if the sample rate is set to an incompatible frequency. Sticking to the default 44.1kHz or 48kHz usually resolves these discrepancies.
Navigating Application Permissions
Modern operating systems prioritize user privacy by requiring explicit permission for apps to access your camera and microphone. If your browser or desktop client lacks these permissions, the hardware will remain inactive regardless of your internal software settings. Navigate to your system’s privacy settings to ensure that your specific video conferencing software is toggled to the “On” position.
Browser-based meetings, such as those held in Google Meet, require additional verification. Look for the small camera or microphone icon in the address bar of your browser. Clicking this icon often reveals a dropdown menu where you can grant or deny access to the site you are currently visiting.
If you have recently updated your operating system, these permissions may have been reset for security reasons. Always re-verify your webcam permissions after a major software update. A common symptom of a permission block is a black screen or a “camera not found” error message inside the meeting window.
Updating Device Drivers
Device drivers are the essential pieces of software that allow your hardware to communicate with the operating system. If these become corrupted or outdated, your camera or microphone may stop responding entirely. Open your device manager to view the status of your hardware components.
Right-click on your audio or video device and select the option to update the driver. If the device is listed with a yellow exclamation mark, it indicates a driver conflict that requires attention. You can choose to automatically search for updated software or manually reinstall the driver from the manufacturer’s website.
If updating does not resolve the issue, consider uninstalling the device entirely. Once uninstalled, restart your computer. Upon reboot, the operating system will automatically detect the hardware and attempt to install a fresh, clean copy of the necessary driver files.
Resolving Software-Specific Settings
Each platform, whether it is Zoom, Microsoft Teams, or another tool, maintains its own internal configuration menu. Even if your system recognizes the hardware, the software might be pointing to a disabled or incorrect virtual device. Open the settings menu within your specific application to verify the selected input and output sources.
Pay close attention to the “Test” buttons provided by these applications. Most offer a way to record a short snippet of audio or view a live preview of your video feed. Using these built-in diagnostic tools is the fastest way to confirm that your selected device is actually working.
Background processes can also interfere with your meeting tools. If another application, such as a voice recorder or a streaming platform, is currently using your camera or microphone, the meeting software will be unable to initialize it. Close all unnecessary programs before starting your call to ensure your hardware is free for use.
Comparison of Common Troubleshooting Steps
When you encounter a technical failure, it is helpful to follow a logical hierarchy of solutions. The table below outlines the most effective steps based on the type of problem you are experiencing.
| Problem Type | Primary Solution | Secondary Solution |
|---|---|---|
| No Audio Input | Check System Sound Settings | Verify Physical Mute Switch |
| No Camera Feed | Check Privacy Permissions | Check Lens Shutter |
| Device Not Detected | Check USB Port Connectivity | Update Device Drivers |
| Stuttering or Lag | Close Background Processes | Check Internet Bandwidth |
Following this structure helps you isolate the cause quickly. By addressing the most likely issues first, you save time and reduce the frustration of digging through complex menus unnecessarily.
Frequently Asked Questions
Why does my camera show a black screen even when it is turned on?
A black screen usually indicates that another application is holding the camera hostage or that a physical privacy shutter is closed. Check your task manager to see if other video-enabled programs are running in the background and terminate them. Additionally, ensure there is no physical slider covering your lens, as this is a common feature on many laptops today.
How do I know if my microphone is muted by the system or the app?
Most video conferencing software provides a visual cue, such as a red line through the icon or a status message on your screen. If the app shows you are unmuted but no one can hear you, check your system sound settings to see if the input level is active. If the bar doesn’t move when you speak, the issue is likely with the device or the system-level privacy settings.
Should I restart my computer if these steps don’t work?
A restart is often the most effective way to clear temporary software glitches and reset device drivers. If you have tried updating settings and checking permissions without success, a reboot forces the computer to re-initialize all hardware connections. It is a standard procedure that resolves a high percentage of persistent technical issues.
What if my USB device is not recognized by the computer at all?
If the computer makes no sound or gives no notification when you plug in the device, the issue is likely physical. Try a different USB port or a different cable if possible. If the device still fails to trigger a connection, test it on another computer to determine if the hardware itself has failed.
Do browser extensions affect my camera and microphone?
Certain ad-blockers or privacy-focused browser extensions can inadvertently block the scripts required for video conferencing tools. If your camera or microphone works in a desktop app but fails in your browser, try disabling your extensions. Using an “incognito” or “private” window can also help determine if an extension is interfering with your meeting.
Conclusion
Successfully managing your digital workspace means being prepared for the occasional technical hurdle. By understanding how your hardware interacts with system sound settings, privacy permissions, and application-specific configurations, you can confidently resolve most issues without outside help. Remember to start with the simplest physical checks, such as cables and privacy shutters, before moving into deeper software diagnostics.
Keep your device drivers updated and remain mindful of which background applications are competing for your hardware. If you encounter persistent problems, systematically working through these steps ensures you spend less time troubleshooting and more time focusing on your meeting. Stay calm, follow the process, and you will find that your virtual presence remains reliable and professional throughout your workday.